I finished my raised garden beds this week!
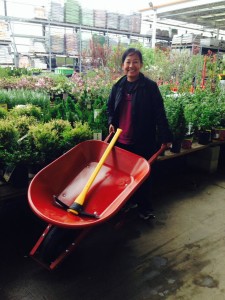
I wanted to write an informative post to go along with this project — it would’ve included links to my Pinterest searches and square foot gardening, pictures of my sketches, list of materials, and possibly some jokes about my trip to buy a wheel barrow and pick ax.
But, I got so much done this week, that I just want to share it with you. One of my husband’s favorite lines is, “Just show me the baby.” Simple enough. I will spare you all the labor pains…here are the pictures:
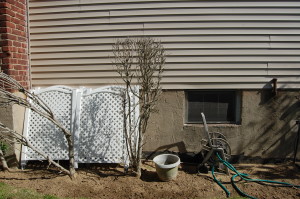
Before picture of my side yard where we removed dead bushes:
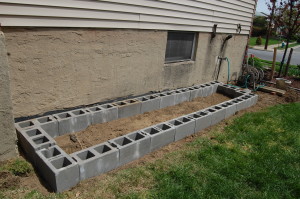
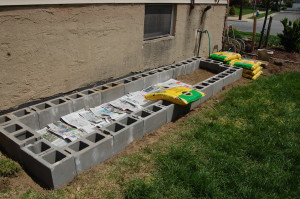
Here are a couple of pictures during the project:
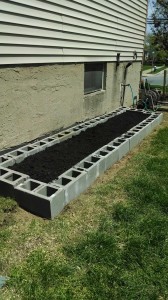
Here is my first vegetable garden:
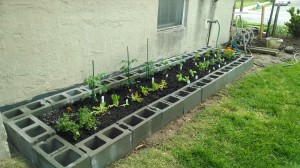
Front row: marigolds, lettuce, basil, parsley, thyme, spicy oregano, sage, marjoram, more marigolds
I worry that the sprinklers won’t reach the vegetables. I still have to figure out how to make a trellis. But I have faith that most of these vegetables will grow.
At the beginning of this post I said garden beds. Yes, there’s more…
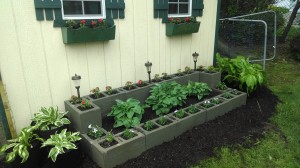
Before picture of shade garden:
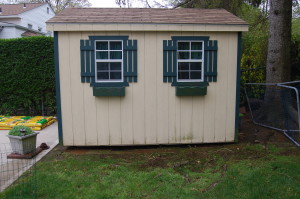
After picture of shade garden:
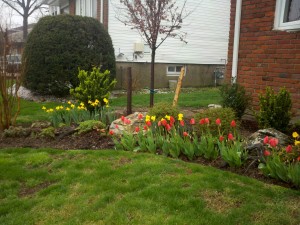
Here’s one last picture of my tulips and daffodils. They finished blooming last week.
Special shoutout to my son for moving cinder blocks, dirt, and mulch in exchange for an excused absent note to study for his AP Euro exam. Also, thanks to Lu for coming with me to get the wheel barrow and plants. It would’ve been hard to take a selfie holding the pick ax.
Thanks for stopping by. Do you know how to build a simple trellis? Got any gardening tips? Share it with us.

🙂
I love your garden! I am impressed! I don’t think I have ever had spicy basil, must be amazing!
Kim, it’s spicy oregano and a bit too spicy for me…wish we lived closer and you could just come and get what you need. It really is amazing to see how fast things grow and that we could actually pick it and eat it. I imagine it’s a similar feeling that you get when you make a dress or purse. BTW, please make sure you post a picture of the dress that you’re making for the wedding 🙂
Love it!
Thanks, AV!